Let’s be honest: drawing a clean circle in Minecraft by hand is a nightmare.
We’ve all done it. You eyeball a curve for a tower base or a fountain, step back, and the thing looks like a lumpy potato because you guessed one block wrong on the corner. Minecraft is a grid of squares, and circles don’t sit on squares neatly — so “winging it” almost never works past a tiny 9-block ring.
Here is the foolproof way to plan and build a perfect circle, from a small beacon ring all the way up to a 100+ block arena floor.
Table of contents
Open Table of contents
- Why You Can’t Eyeball a Minecraft Circle
- Step 1: Set Your Width and Lock a Perfect Circle
- Step 2: Pick Hollow or Solid (and How Thick the Border Is)
- Step 3: Build It in Four Quarters (Kill the 1-Block Drift)
- Step 4: Read the Materials Panel Before You Mine
- Step 5: Export Your Blueprint (PNG or SVG)
- Start Building
Why You Can’t Eyeball a Minecraft Circle
A circle’s edge follows pi, and pi never lands on clean block boundaries. Every few blocks the curve has to “step” inward by one — and the spot where it steps is exactly where people miscount.
Old static pixel charts from 2013 sort of help, but they leave you blind:
- No block totals. A flat image won’t tell you whether you need 2 stacks of stone or 20.
- No odd/even guidance. You can’t tell if your center is a single block or a 2x2.
- No way to adjust. Want a slightly bigger ring? You’re back to hunting for another JPEG.
That’s why I built the Minecraft Circle Generator — an interactive blueprint that draws the exact ring for any size and counts every block for you.
Step 1: Set Your Width and Lock a Perfect Circle
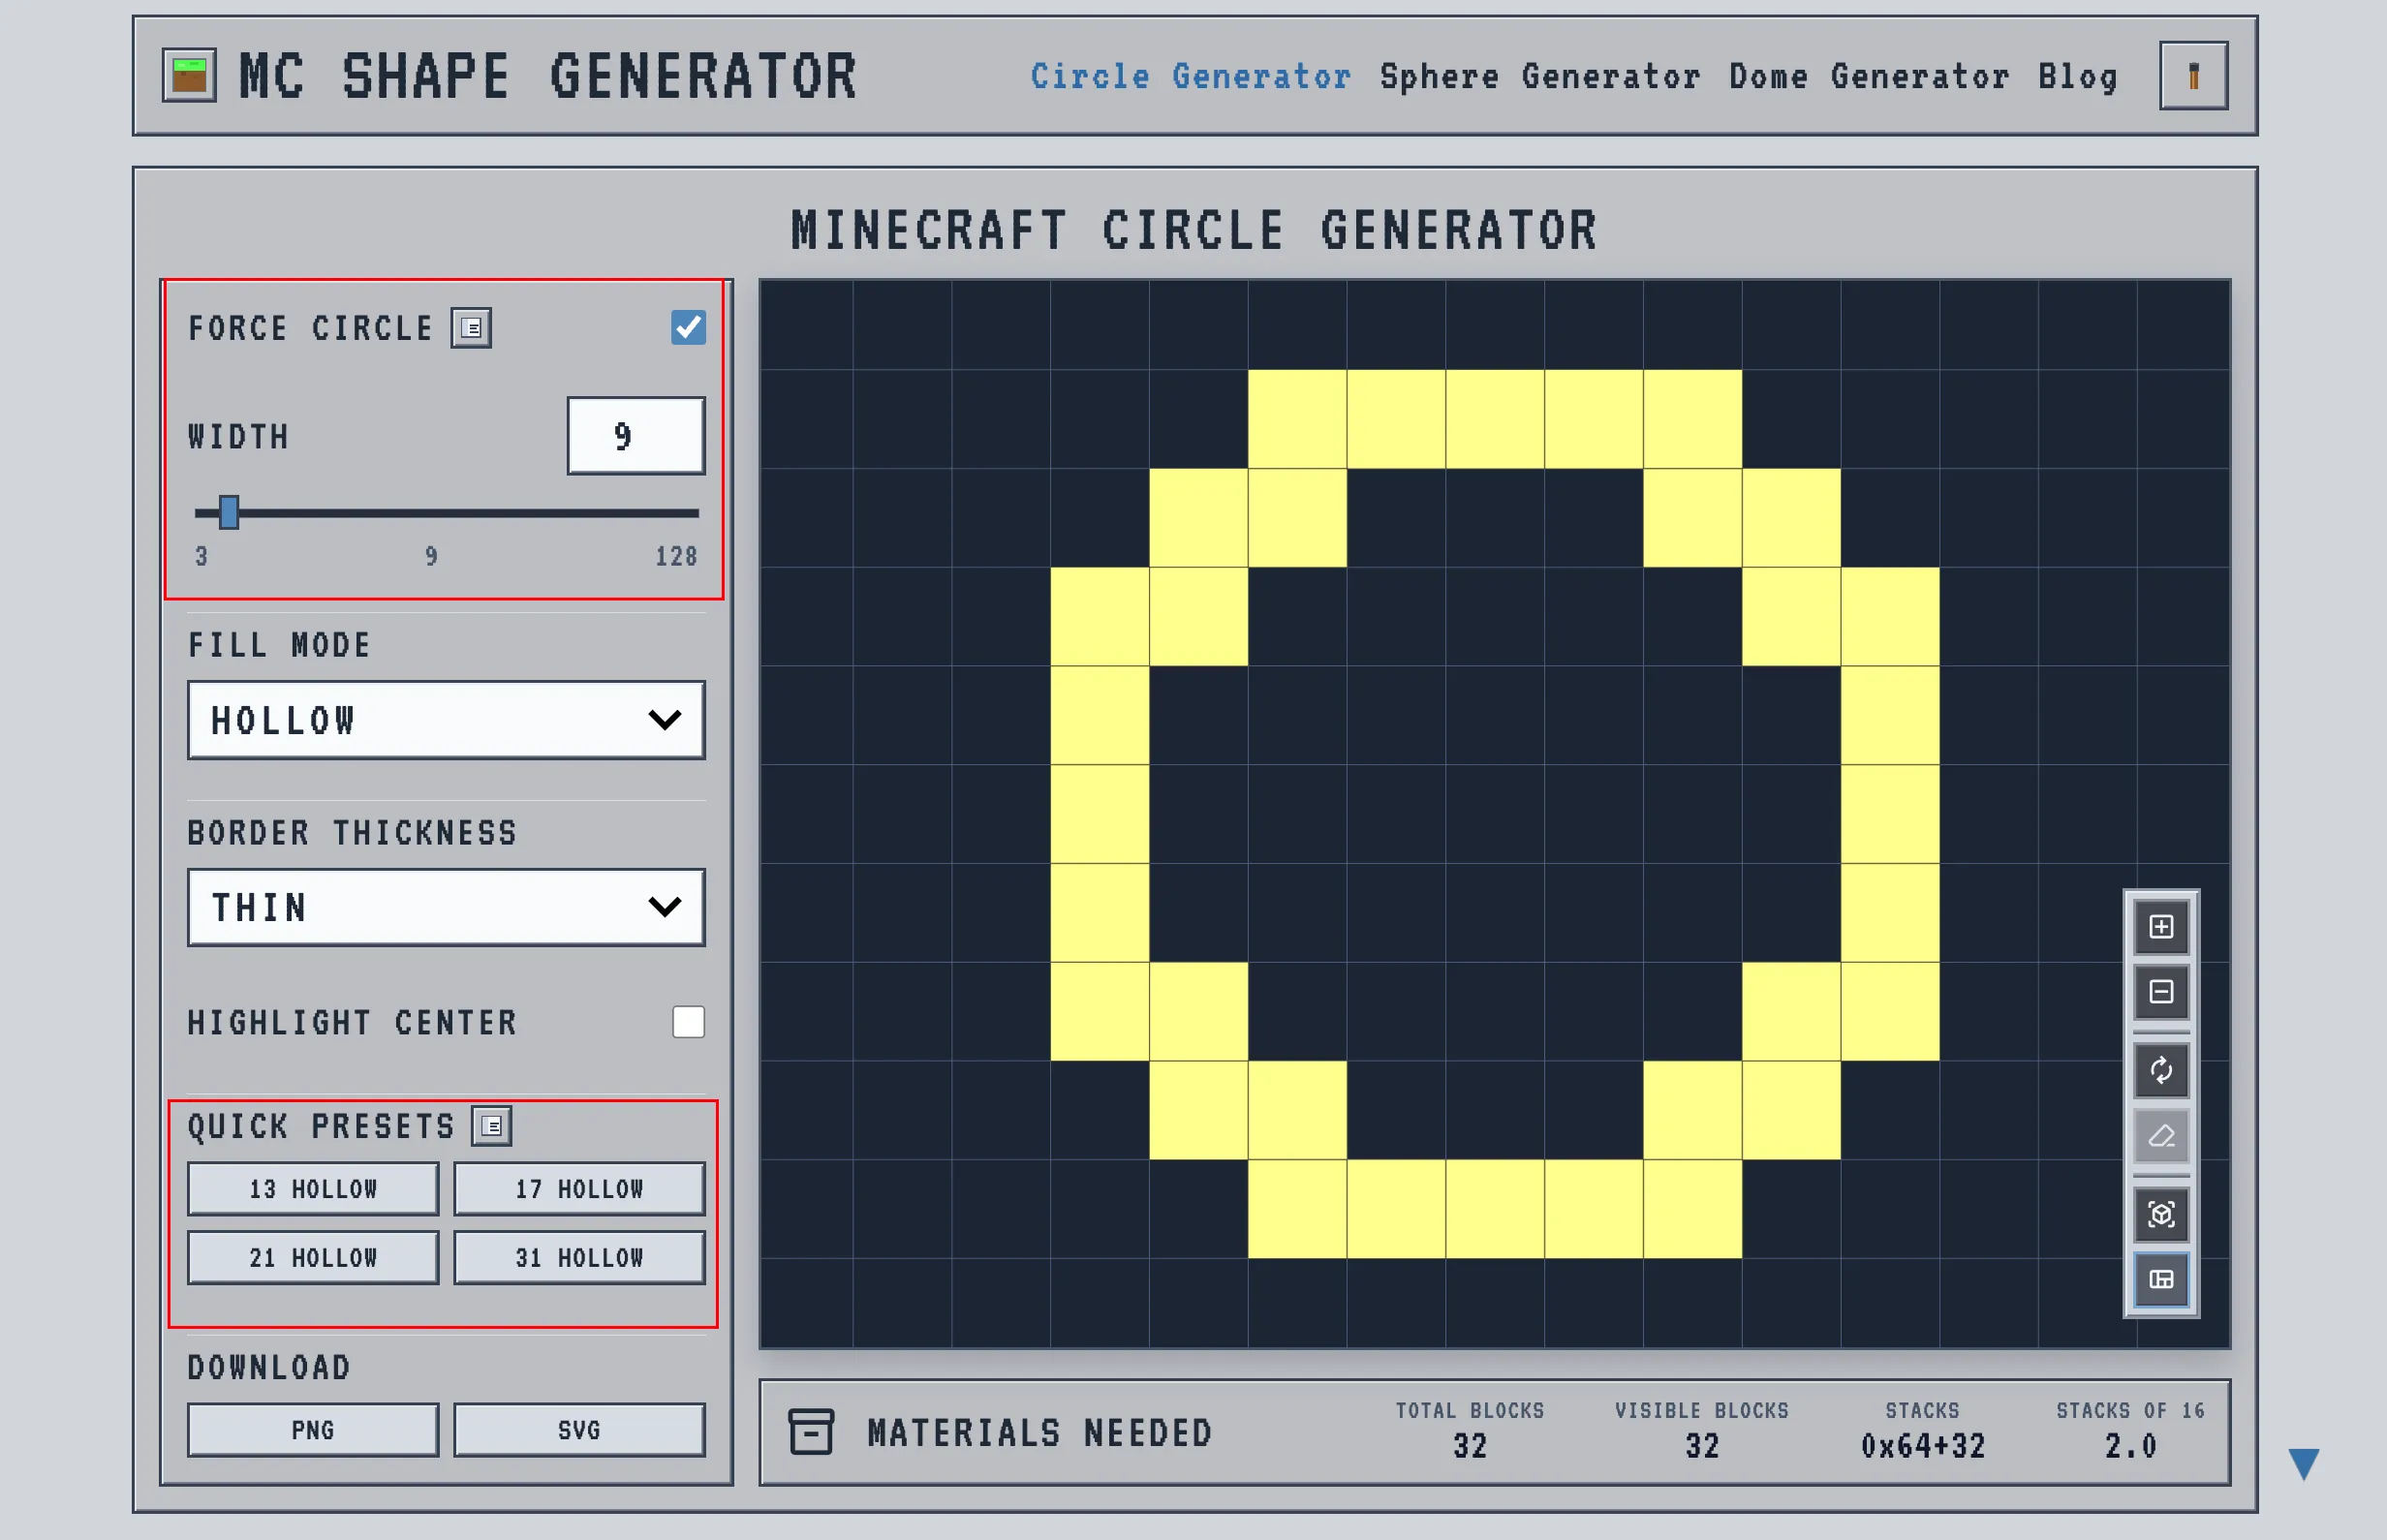
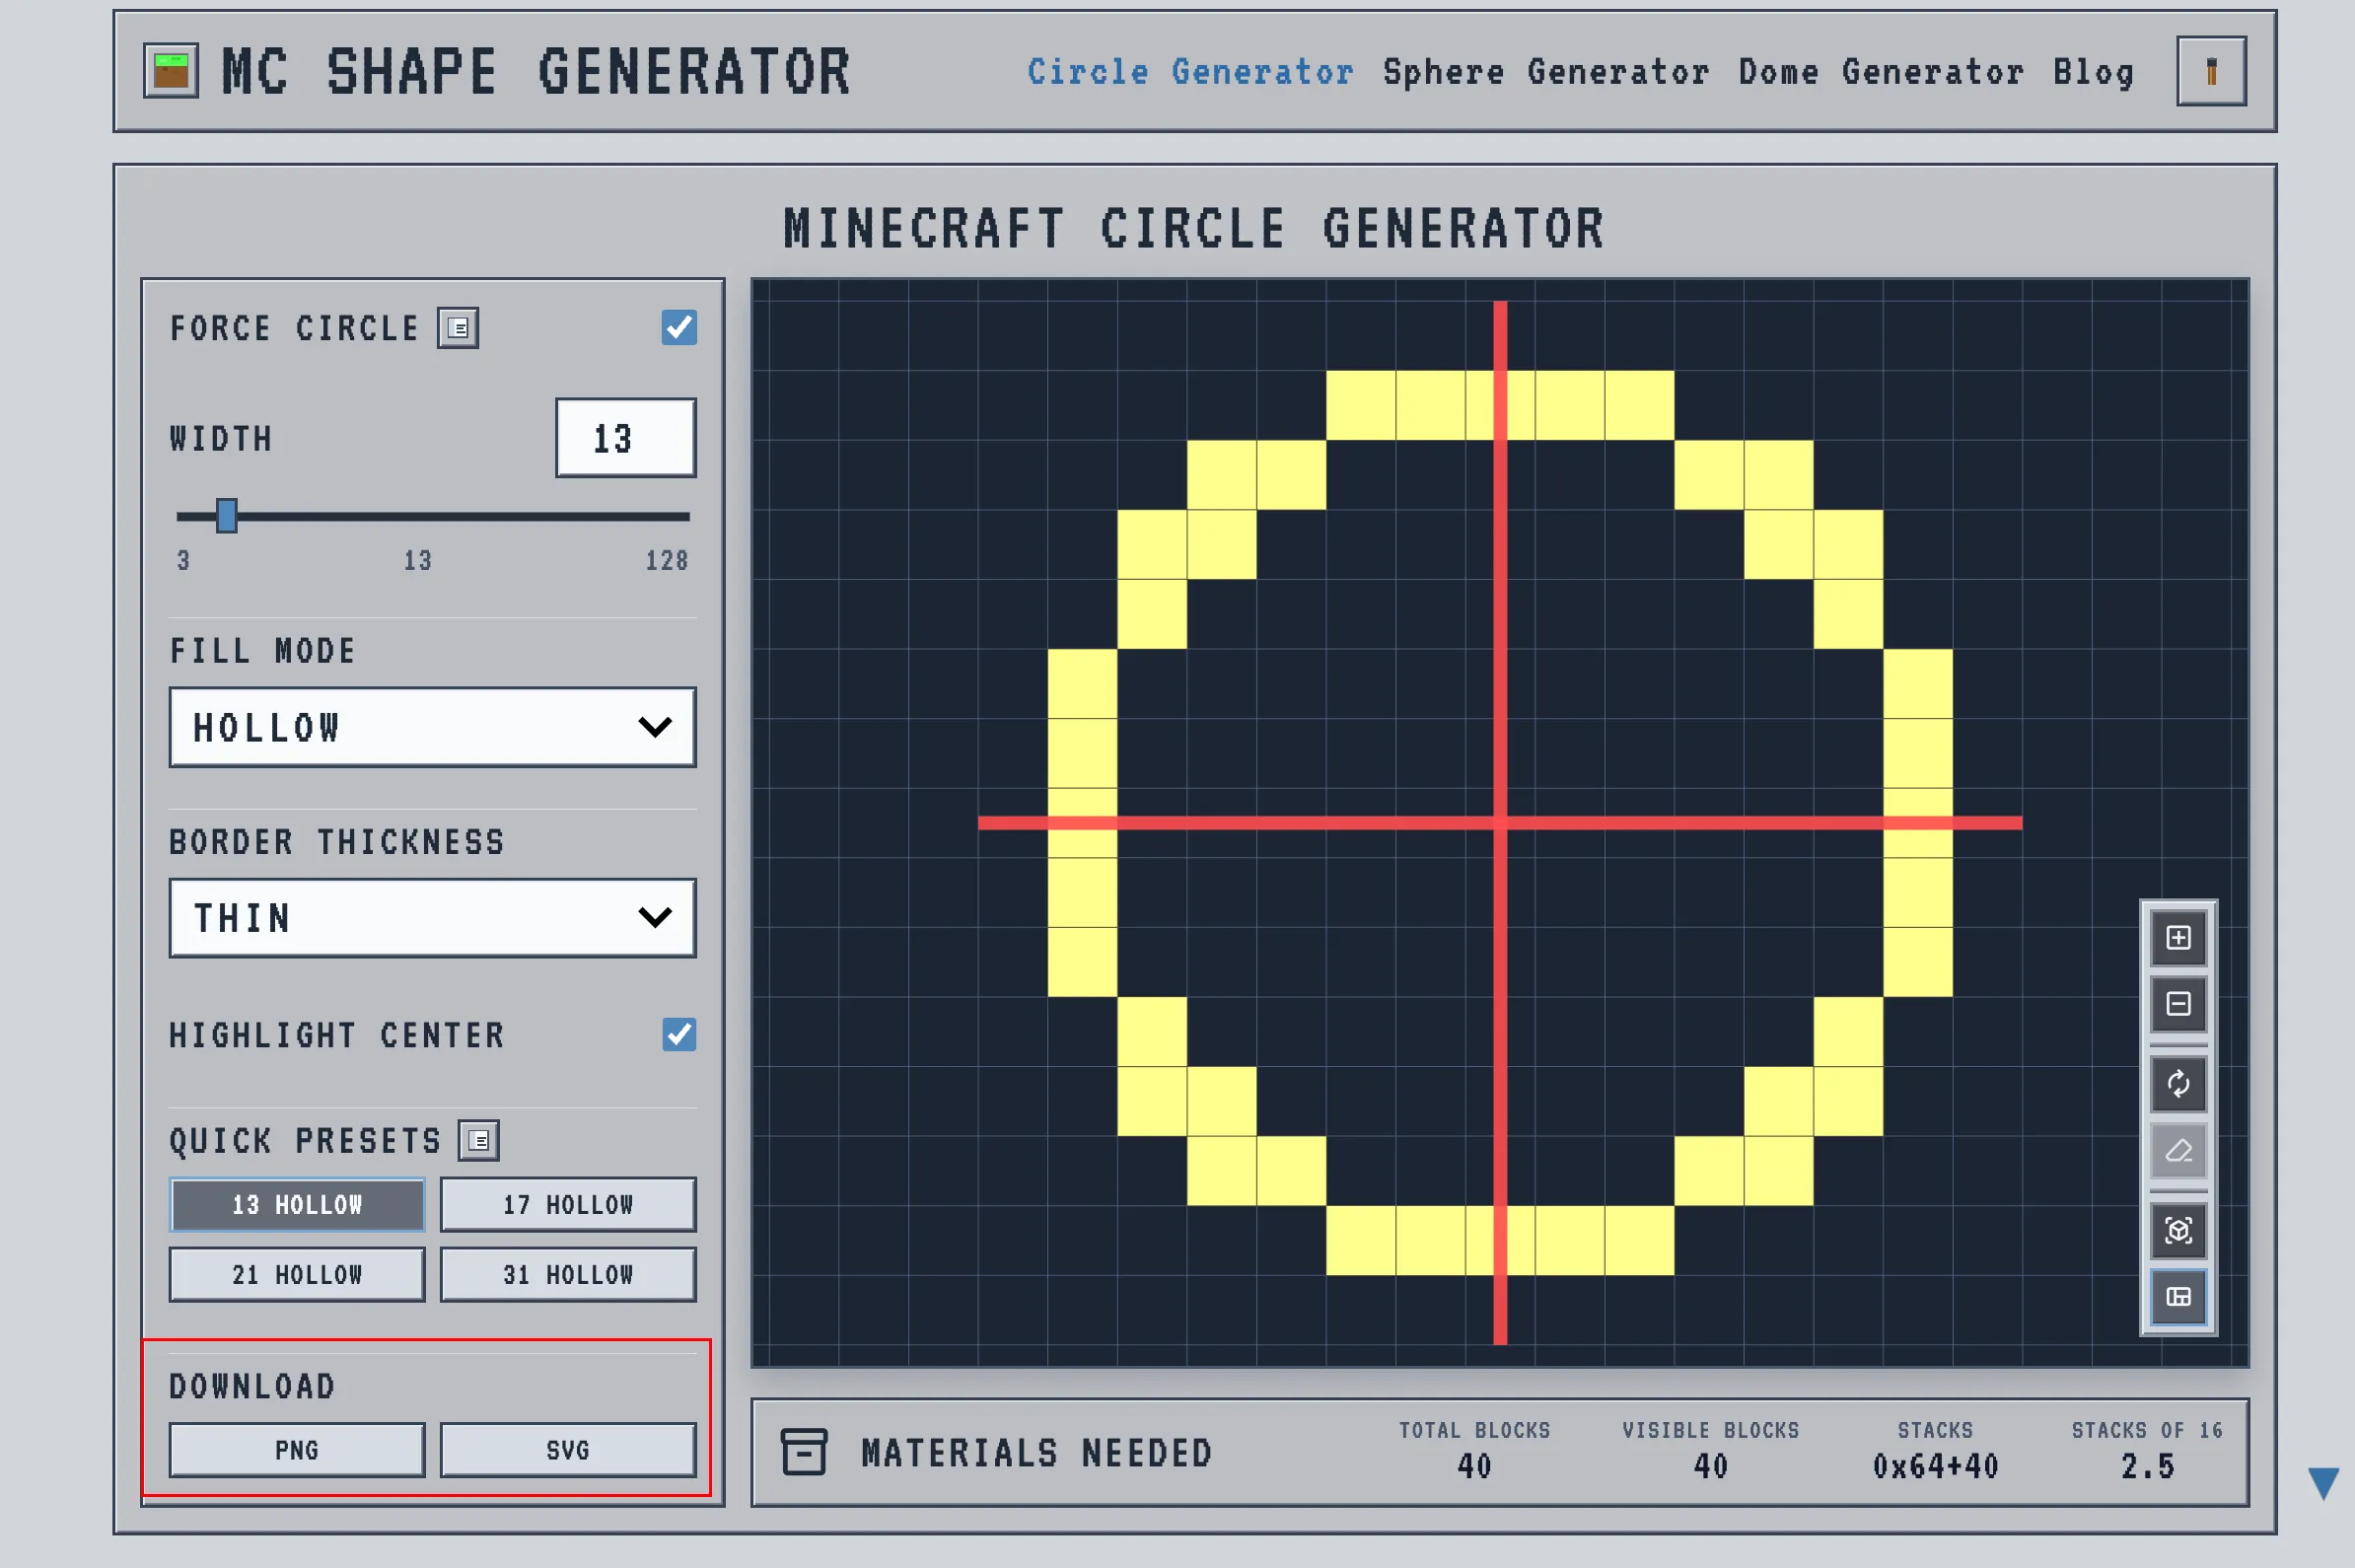
Open the generator and keep Force Circle checked. This locks Width and Height together so you always get a true round circle. (Uncheck it later if you ever want to stretch the shape into an oval — that stretched ellipse is exactly what you plot for an oval arena like a Roman colosseum.)
Now drag the Width slider to your size. With Force Circle on, Width is your diameter — anything from 3 to 128 blocks.
Before you commit, decide odd or even:
- Odd width (13, 21, 33…): gives you a single center block — perfect for a beacon beam or a center pillar.
- Even width (12, 20, 32…): gives you a 2x2 center — better for double-door symmetry or a wide fountain spout.
In a hurry? Tap a Quick Preset — 13, 17, 21, or 31 Hollow. 13 is the smallest size that actually reads as round; 17 and 21 are the balanced all-rounders; 31 looks glass-smooth for big rings and arenas.
Step 2: Pick Hollow or Solid (and How Thick the Border Is)
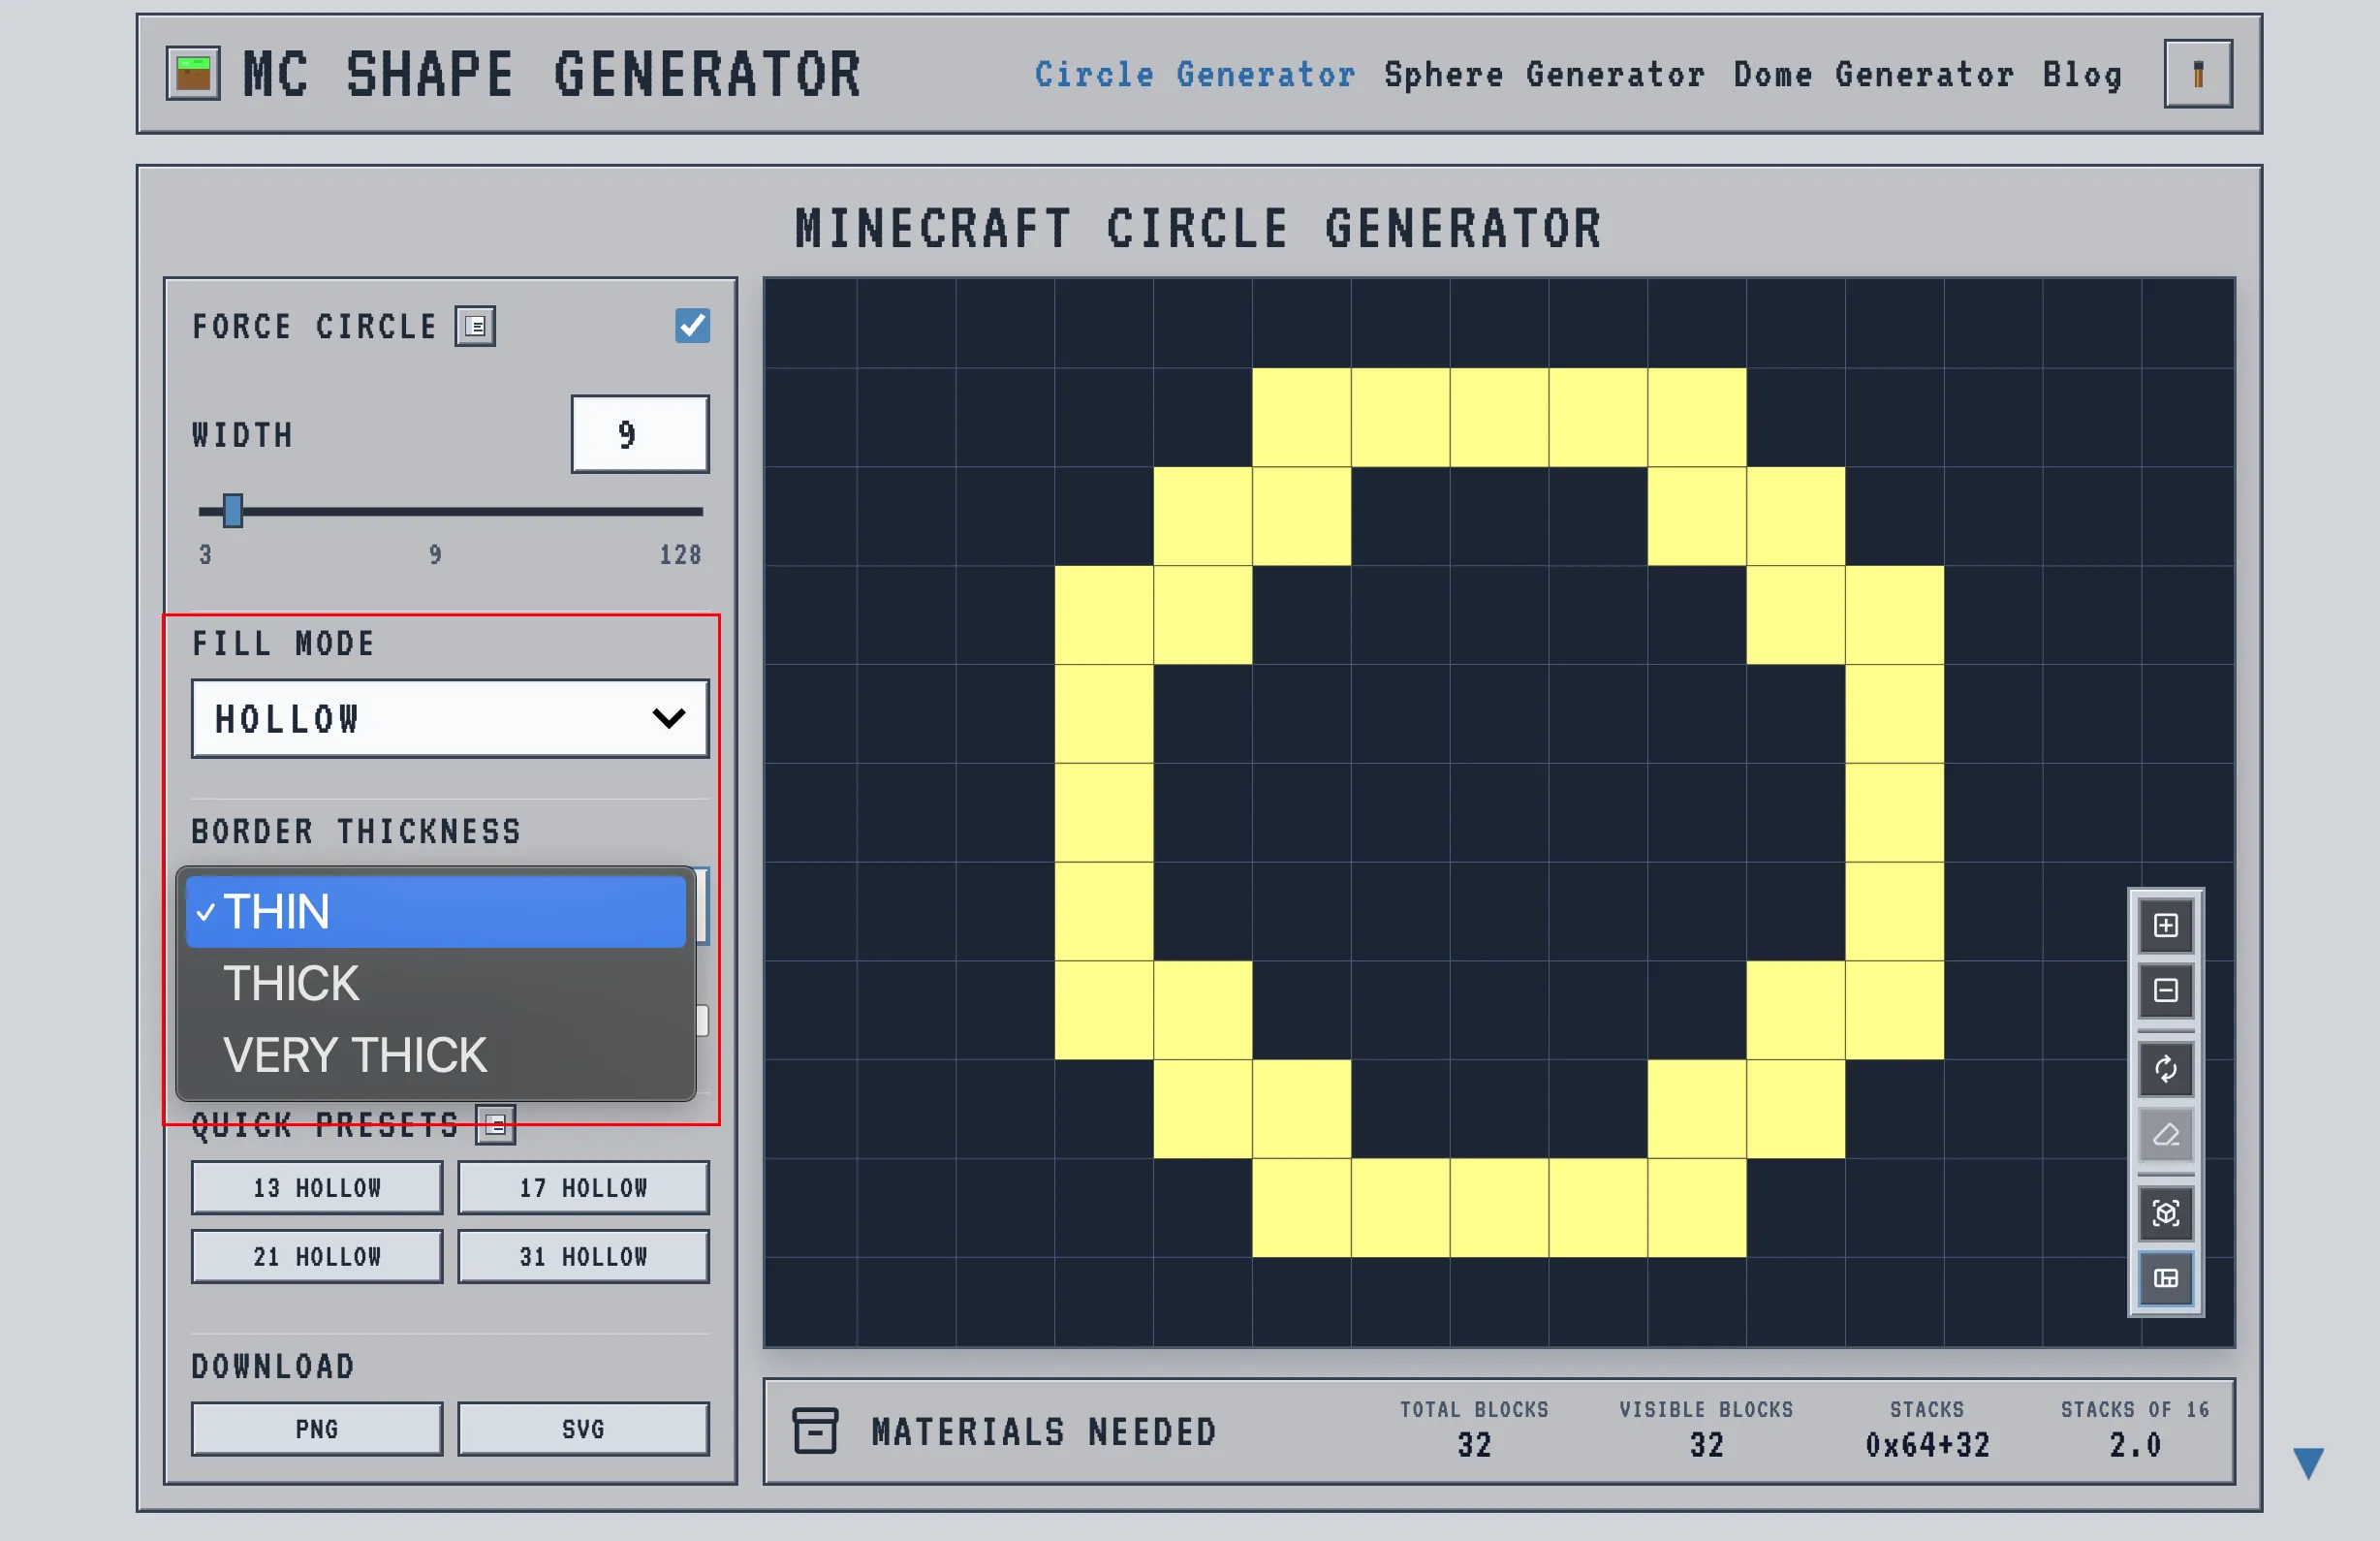
Switch Fill Mode to match your build:
- Hollow is what most builders want — just the ring. Think lighthouse outlines, fountain rims, fence lines, and tower walls.
- Solid fills the whole disc — use it for platforms, farm floors, or anything you plan to stand on.
If you picked Hollow, you also unlock Border Thickness: THIN for a clean 1-block outline, or THICK / VERY THICK when you want a chunky wall you can actually walk along the top of. Solid discs ignore this setting — there’s no border to thicken.
Step 3: Build It in Four Quarters (Kill the 1-Block Drift)
This is the step that saves your build. Most people trace the outer edge in one long loop — and if you miscount on block 50, you won’t notice until block 300, when the two ends refuse to meet. That’s the dreaded 1-block drift.
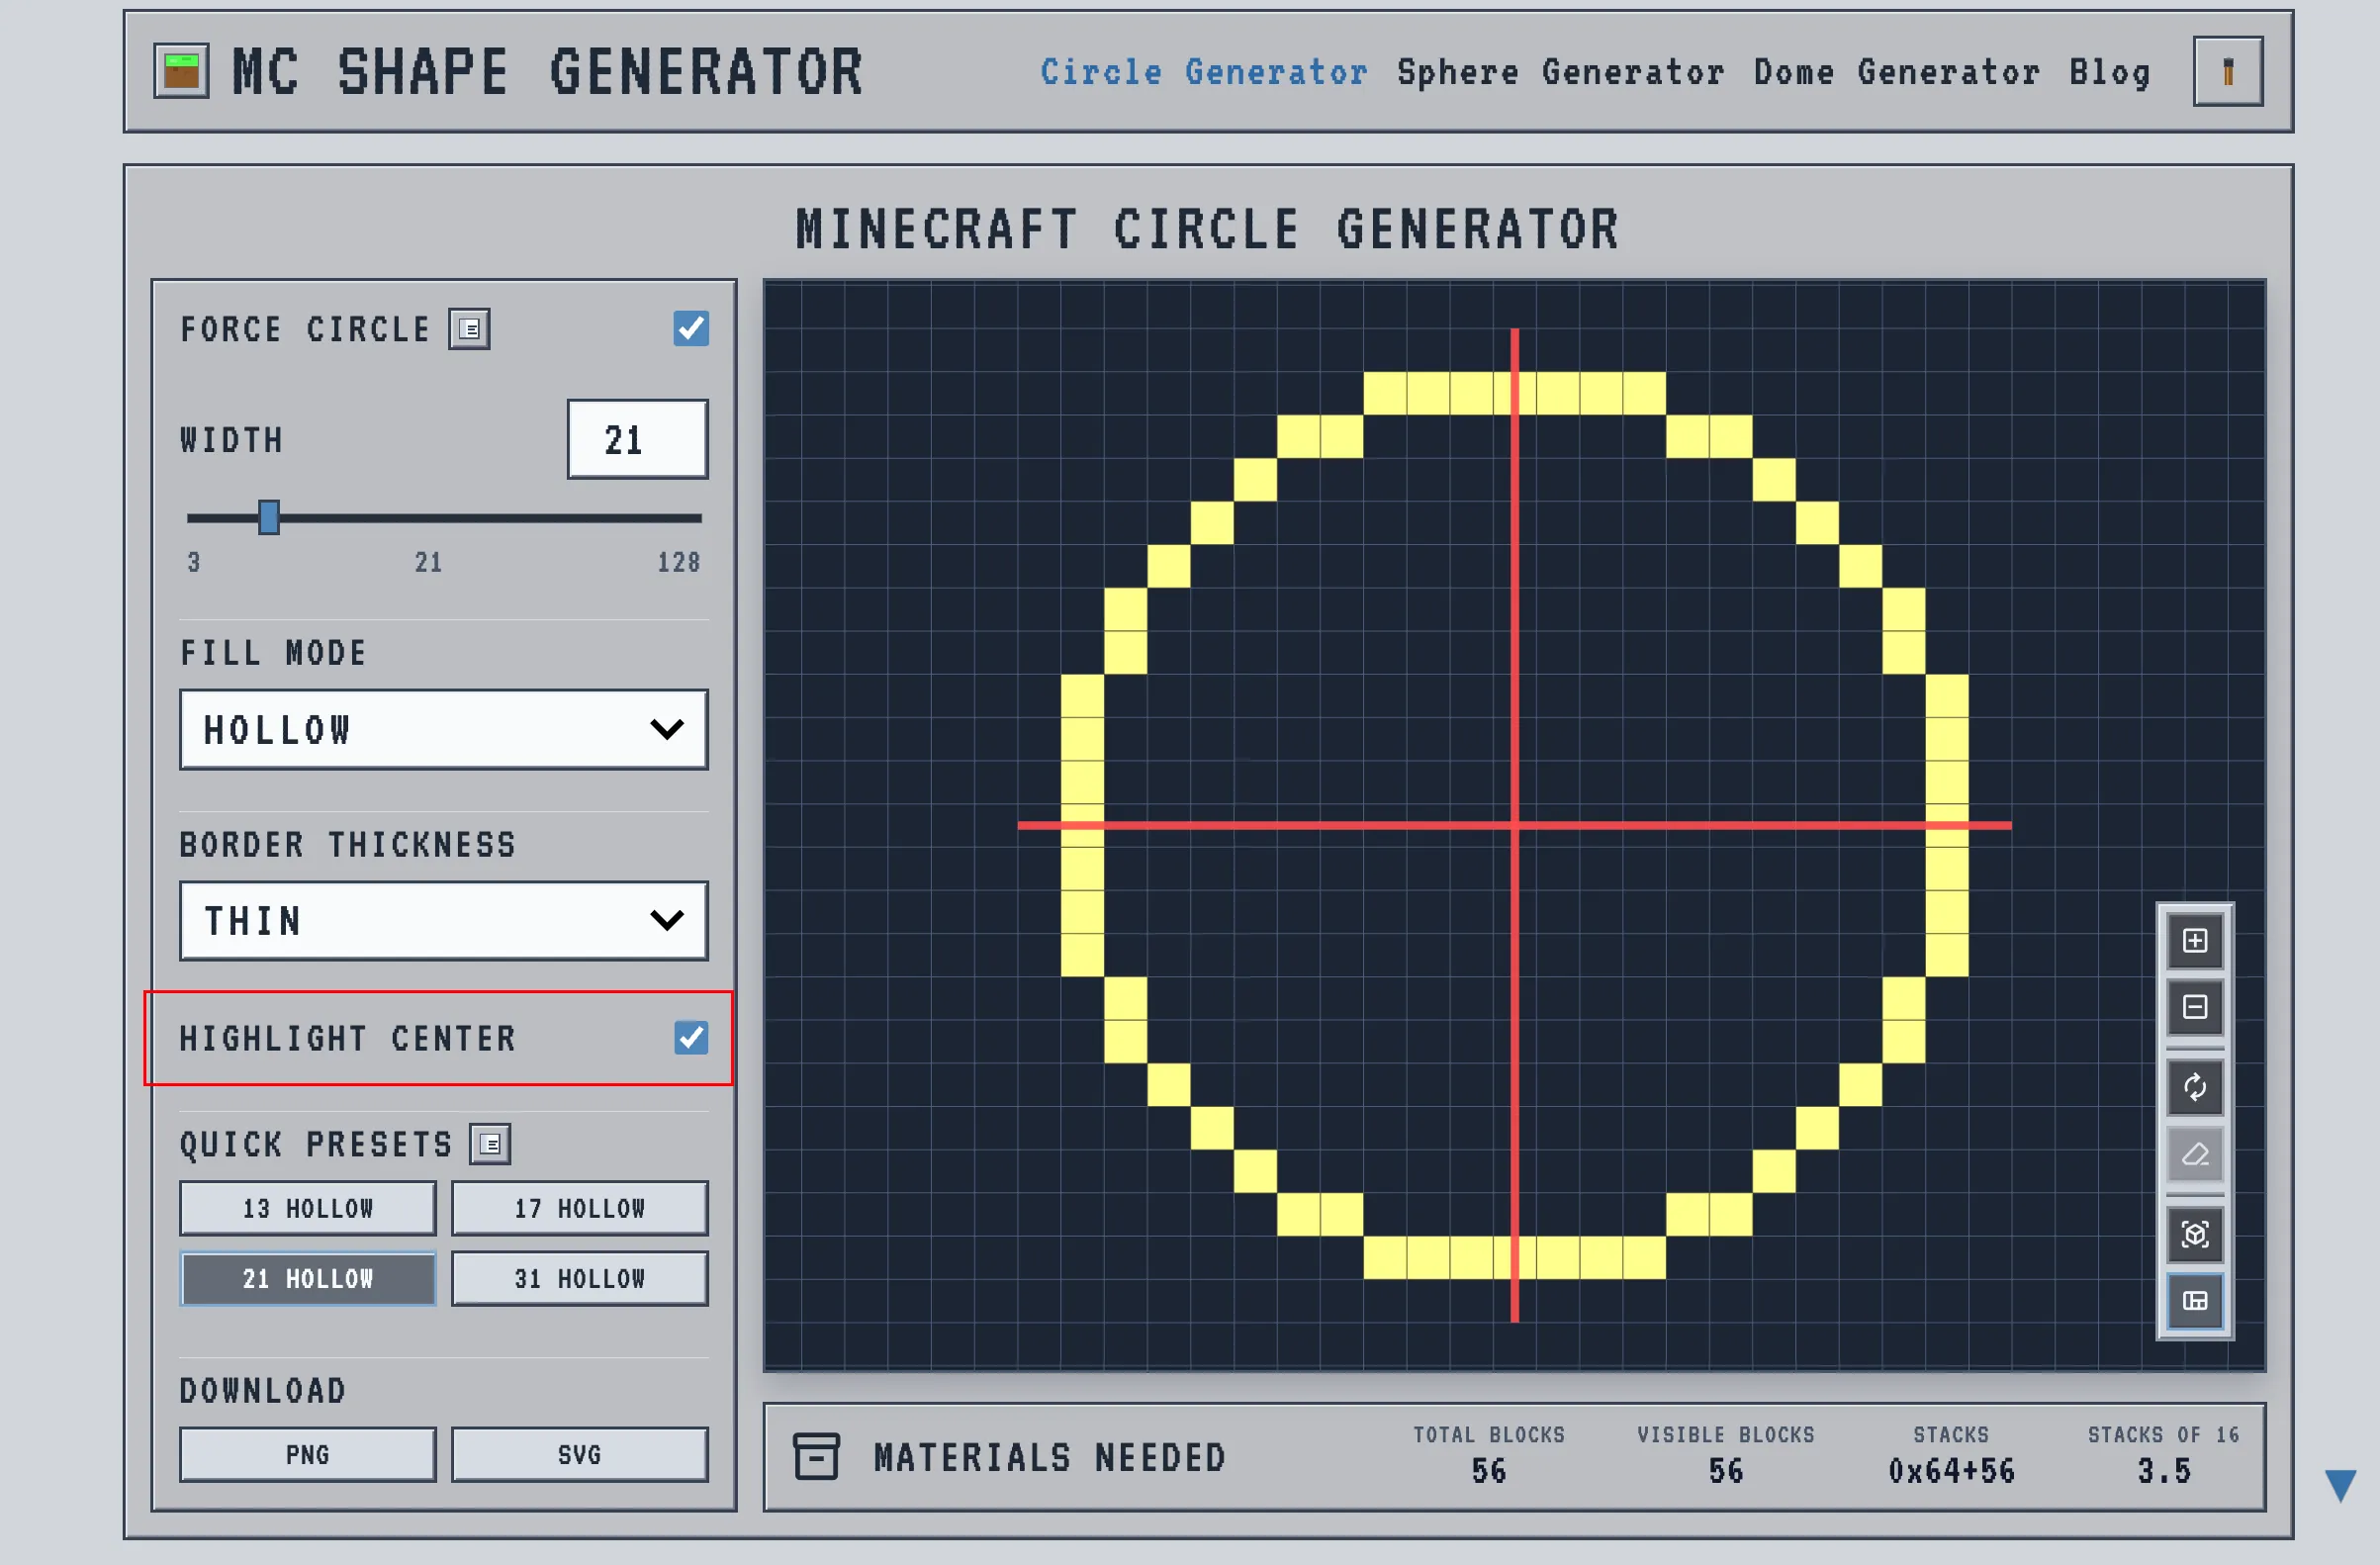
Beat it with a framework. Turn on Highlight Center and the tool projects bright red X and Z axes straight through your circle. Those red lines are your compass:
- Drop an anchor. Place one distinct block at the dead center of your cleared area.
- Shoot the axes. Build straight lines out from center in all four directions — a big plus sign on the ground.
- Lock the four poles. Copy the flat edge segments from the tool onto the end of each axis line.
- Mirror one quarter. Build a single curved quarter, then repeat it in the other three directions.
Because you only ever build a quarter at a time, a miscount can’t snowball around the whole ring. For giant builds over rough terrain, the circle center alignment guide goes deeper on this method.
Step 4: Read the Materials Panel Before You Mine
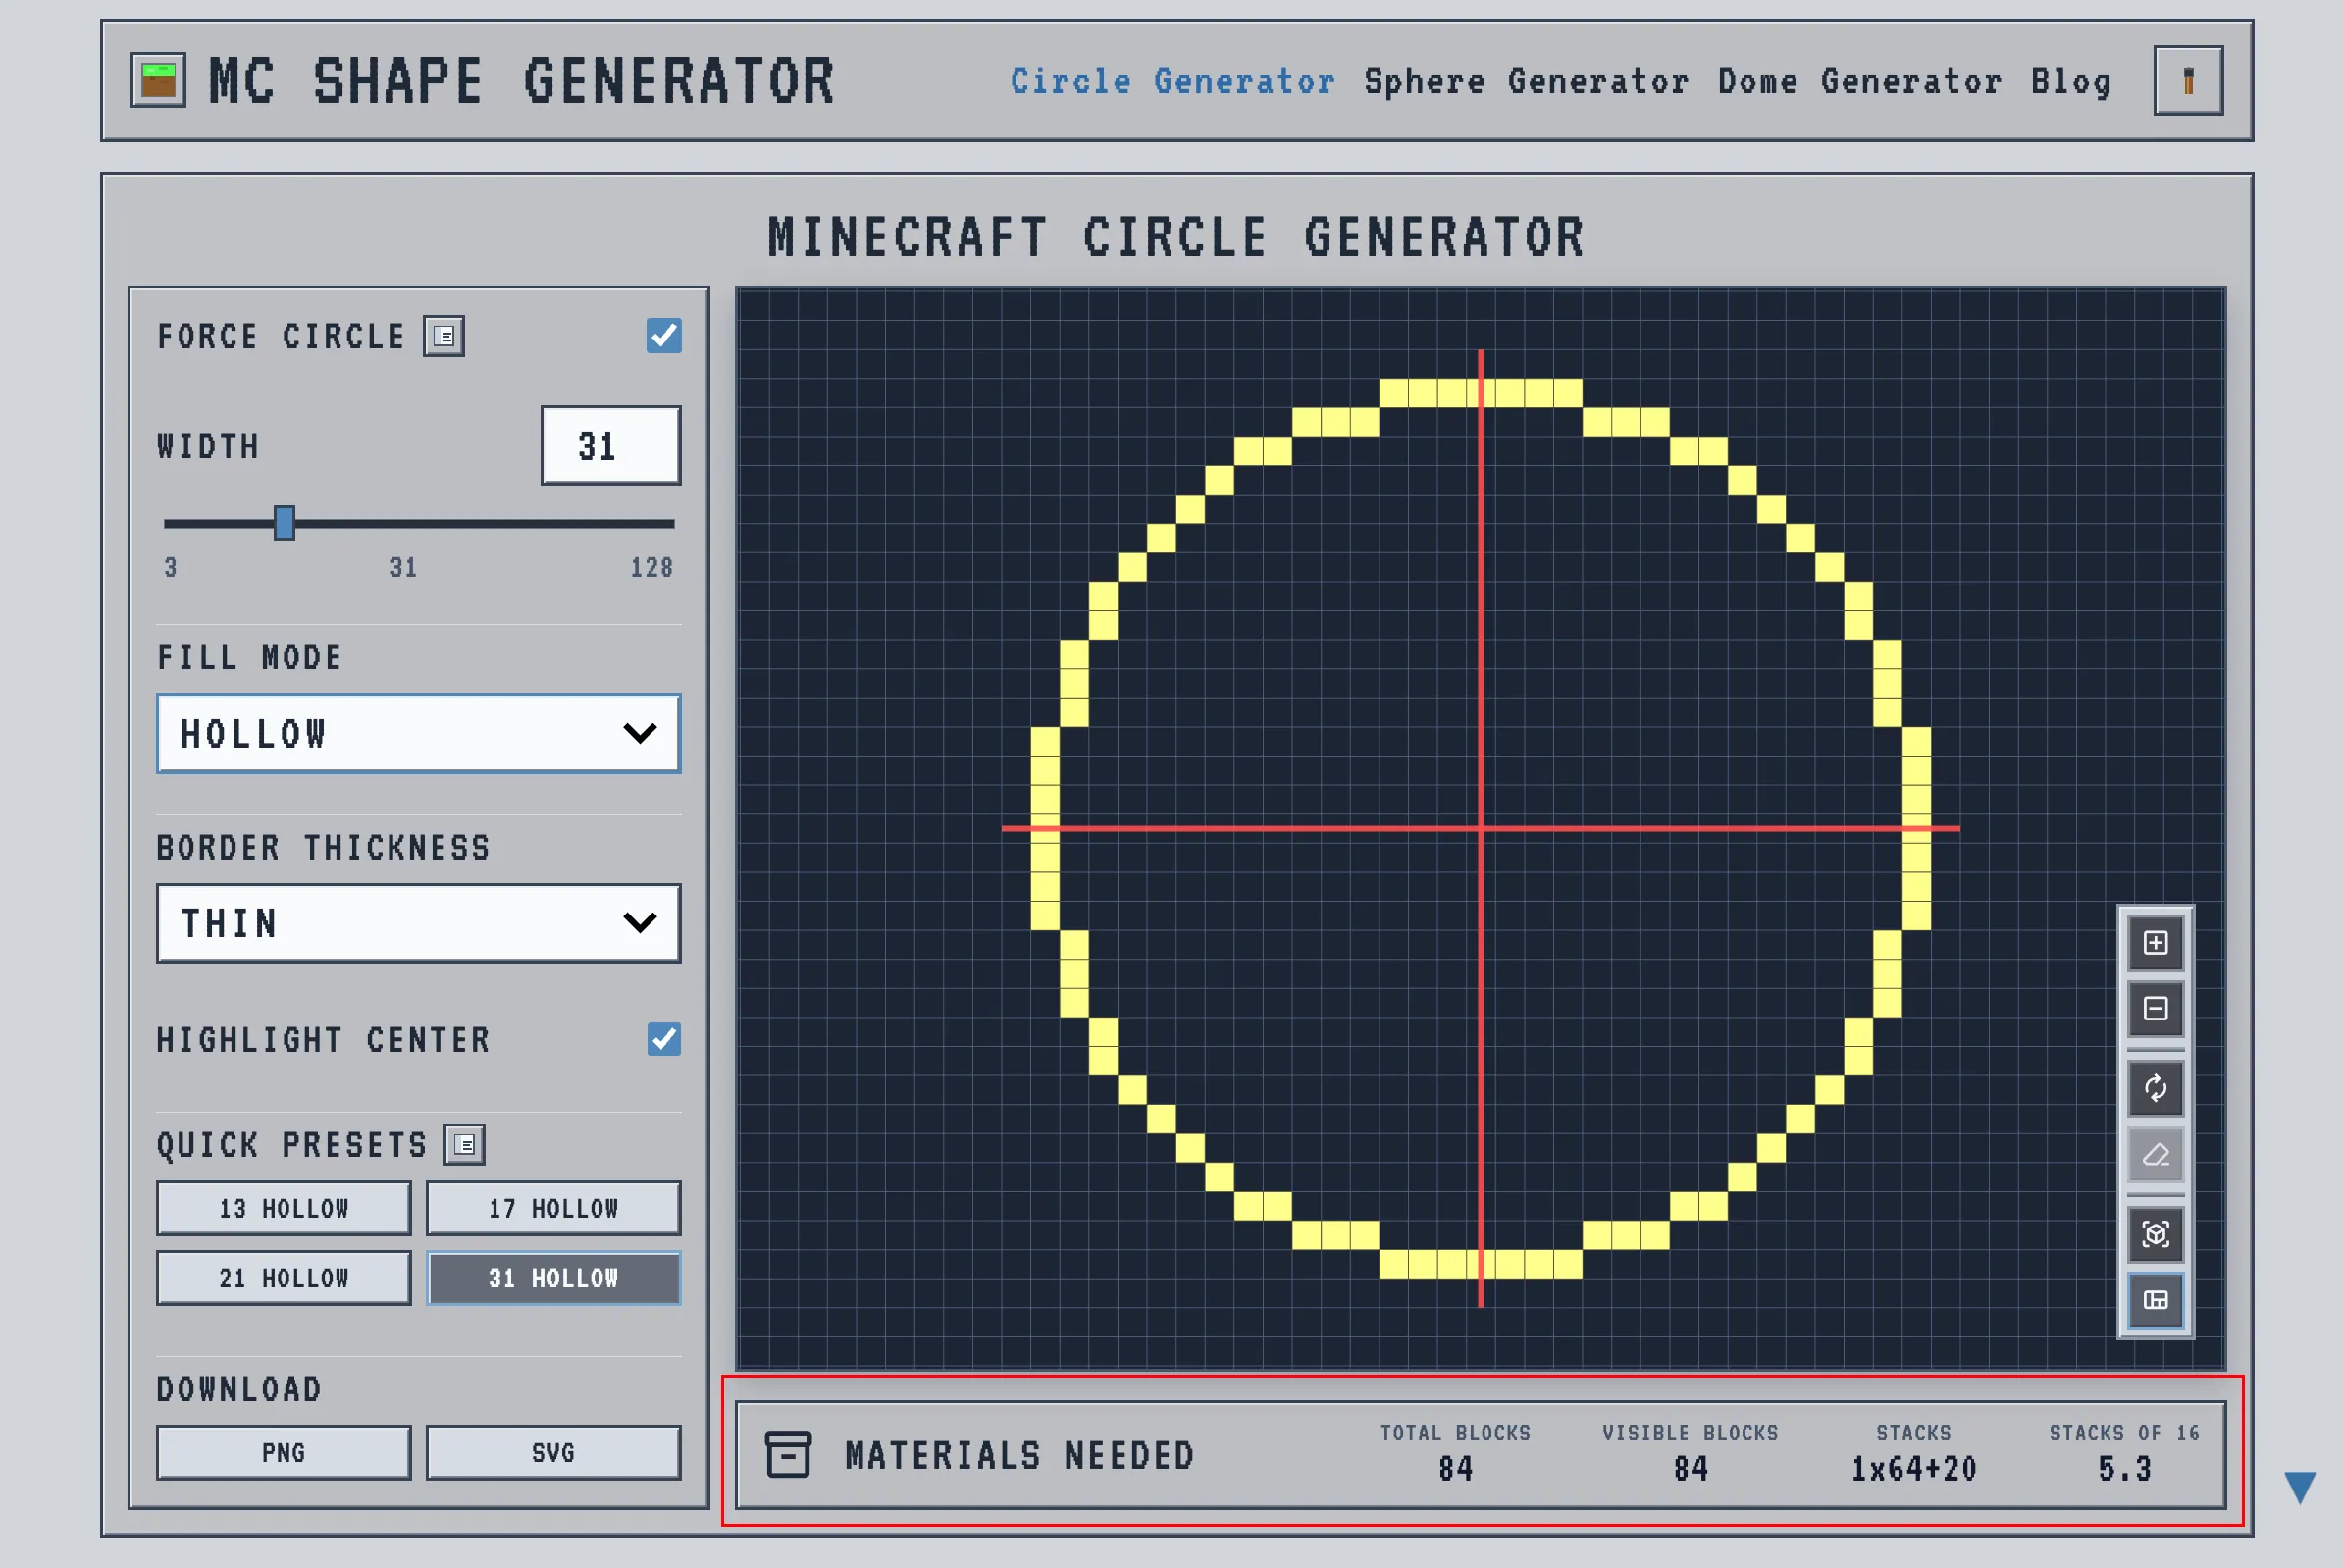
Don’t fly off to your storage room guessing. The Materials Needed panel does the math for you:
- Total Blocks — every block the ring (or disc) needs.
- Visible Blocks — what’s on screen from the current angle.
- Stacks — the total split into 64-block stacks, so you know how many to grab.
- Stacks of 16 — handy when your material stacks to 16 instead of 64 (eggs, snowballs, ender pearls, honey bottles).
Grab exactly that many, pack your shulker box, and you’ll never run back mid-build because you ran out of glass.
Step 5: Export Your Blueprint (PNG or SVG)
When the circle looks right, take it with you. The Download buttons give you two options:
- PNG — a quick screenshot of the current view, great for dropping into a Discord planning thread.
- SVG — a crisp vector blueprint that stays sharp at any zoom. Print it and prop it next to your monitor to place blocks row by row.
Start Building
Stop tearing down lumpy walls. Set your width, pick hollow or solid, anchor your red axes, and read your block counts before you mine a single block.
👉 Try the free Minecraft Circle Generator now
Building a full 3D ball instead of a flat ring? Head over to the Sphere Generator.