The tower itself goes up fine. Twelve identical rings, one on top of the other, and then you are standing on the top ring holding a stack of stone brick with no idea what the next layer is supposed to be. That is the point where round builds stall — not at the wall, at the cap. Search the forums for a round roof and you mostly find other people stuck in the same spot, one of them putting it about as plainly as it can be put: I can make circles but I’m clueless.
TL;DR: A round roof is a stack of shrinking rings. A cone drops the diameter by 2 each layer — a 13-wide tower caps in 7 layers and 137 blocks. A dome cap over that same tower costs 245.
Table of contents
Open Table of contents
Why the roof is the hard part
A tower wall is one shape repeated. You get the base ring right once, then copy it upward until you run out of patience or stone. Nothing about layer 9 is different from layer 3.
A roof breaks that. Every layer is a different diameter, which means every layer is a different ring, and a ring is exactly the thing that is miserable to eyeball. Being off by one block on a wall is invisible. Being off by one block on the third layer of a cone shows up as a dent in the silhouette from forty blocks away, and by then you have built four more layers on top of it.
There are three ways round builds get capped, plus one variant worth knowing:
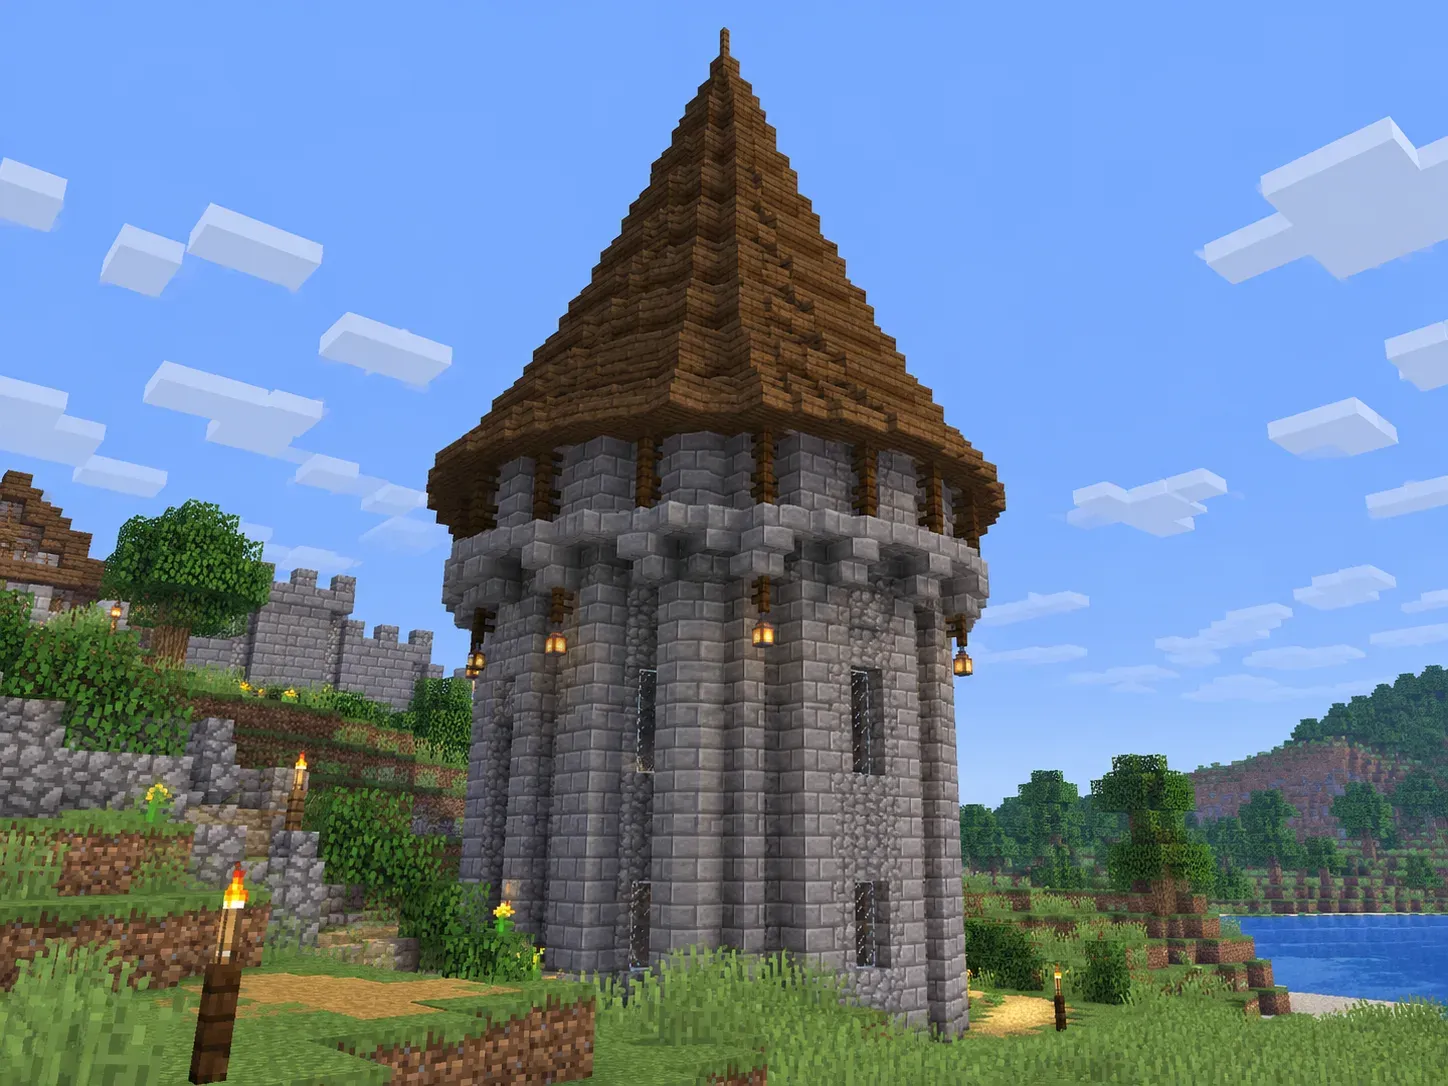
- Cone — rings shrinking to a point. The wizard tower, the castle turret, the silo.
- Dome — a hemisphere sat on top of the wall, which is the expensive one and also the one that reads as money well spent on a keep or an observatory.
- Flat with battlements — no curve at all. Watchtowers, curtain walls.
- Onion — a dome that bulges wider than the tower before it pulls back to a spire.
Which one you pick is a silhouette decision more than a technical one, and it is worth making before you finish the wall, because the last two options change how thick you want the top of that wall. The round castle and tower guide covers the wall itself; everything below starts from the moment the wall is done.
The cone: your taper is a subtraction sequence
A cone is a stack of rings where each one is narrower than the one below it. The only real decision is how much narrower, and that single number sets the whole silhouette.
Drop the diameter by 2 per layer and a 13-wide tower closes in 7 layers:
| Layer | 1 | 2 | 3 | 4 | 5 | 6 | 7 |
|---|---|---|---|---|---|---|---|
| Diameter | 13 | 11 | 9 | 7 | 5 | 3 | 1 |
| Blocks | 40 | 28 | 32 | 16 | 12 | 8 | 1 |
That is 137 blocks total. Change the step and you change the roof completely:
| Taper | Sequence | Height | Blocks |
|---|---|---|---|
| Steep | 13 → 9 → 5 → 1 | 4 layers | 85 |
| Standard | 13 → 11 → 9 → 7 → 5 → 3 → 1 | 7 layers | 137 |
| Gentle | each diameter repeated twice | 13 layers | 273 |
The gentle version — build 13, build 13 again, then 11, then 11, and so on — is the one that reads as a proper spire rather than a party hat. It also doubles your block cost, which on a survival build is a real consideration.
Scan back up that first table and something looks wrong: layer 2 is 28 blocks and layer 3 is 32. The ring got smaller and the count went up. That is not a typo. A circle drawn on a square grid has to decide where its corners step, and at some diameters — 9, 13, 19 — the diagonal ends up two blocks thick instead of one, while 11, 15 and 21 come out as a clean single ring. So block counts along a taper do not fall in a straight line, and arithmetic in your head will mislead you.
Which is the practical argument for reading each ring off a blueprint instead of guessing. Set the diameter in the circle generator, note the ring, drop to the next diameter, note that one. Seven passes and the whole roof is planned.
Common base widths, standard taper:
| Tower width | 9 | 11 | 13 | 15 | 17 | 21 |
|---|---|---|---|---|---|---|
| Roof layers | 5 | 6 | 7 | 8 | 9 | 11 |
| Blocks | 69 | 97 | 137 | 177 | 225 | 349 |
The dome cap: same height, nearly double the cost
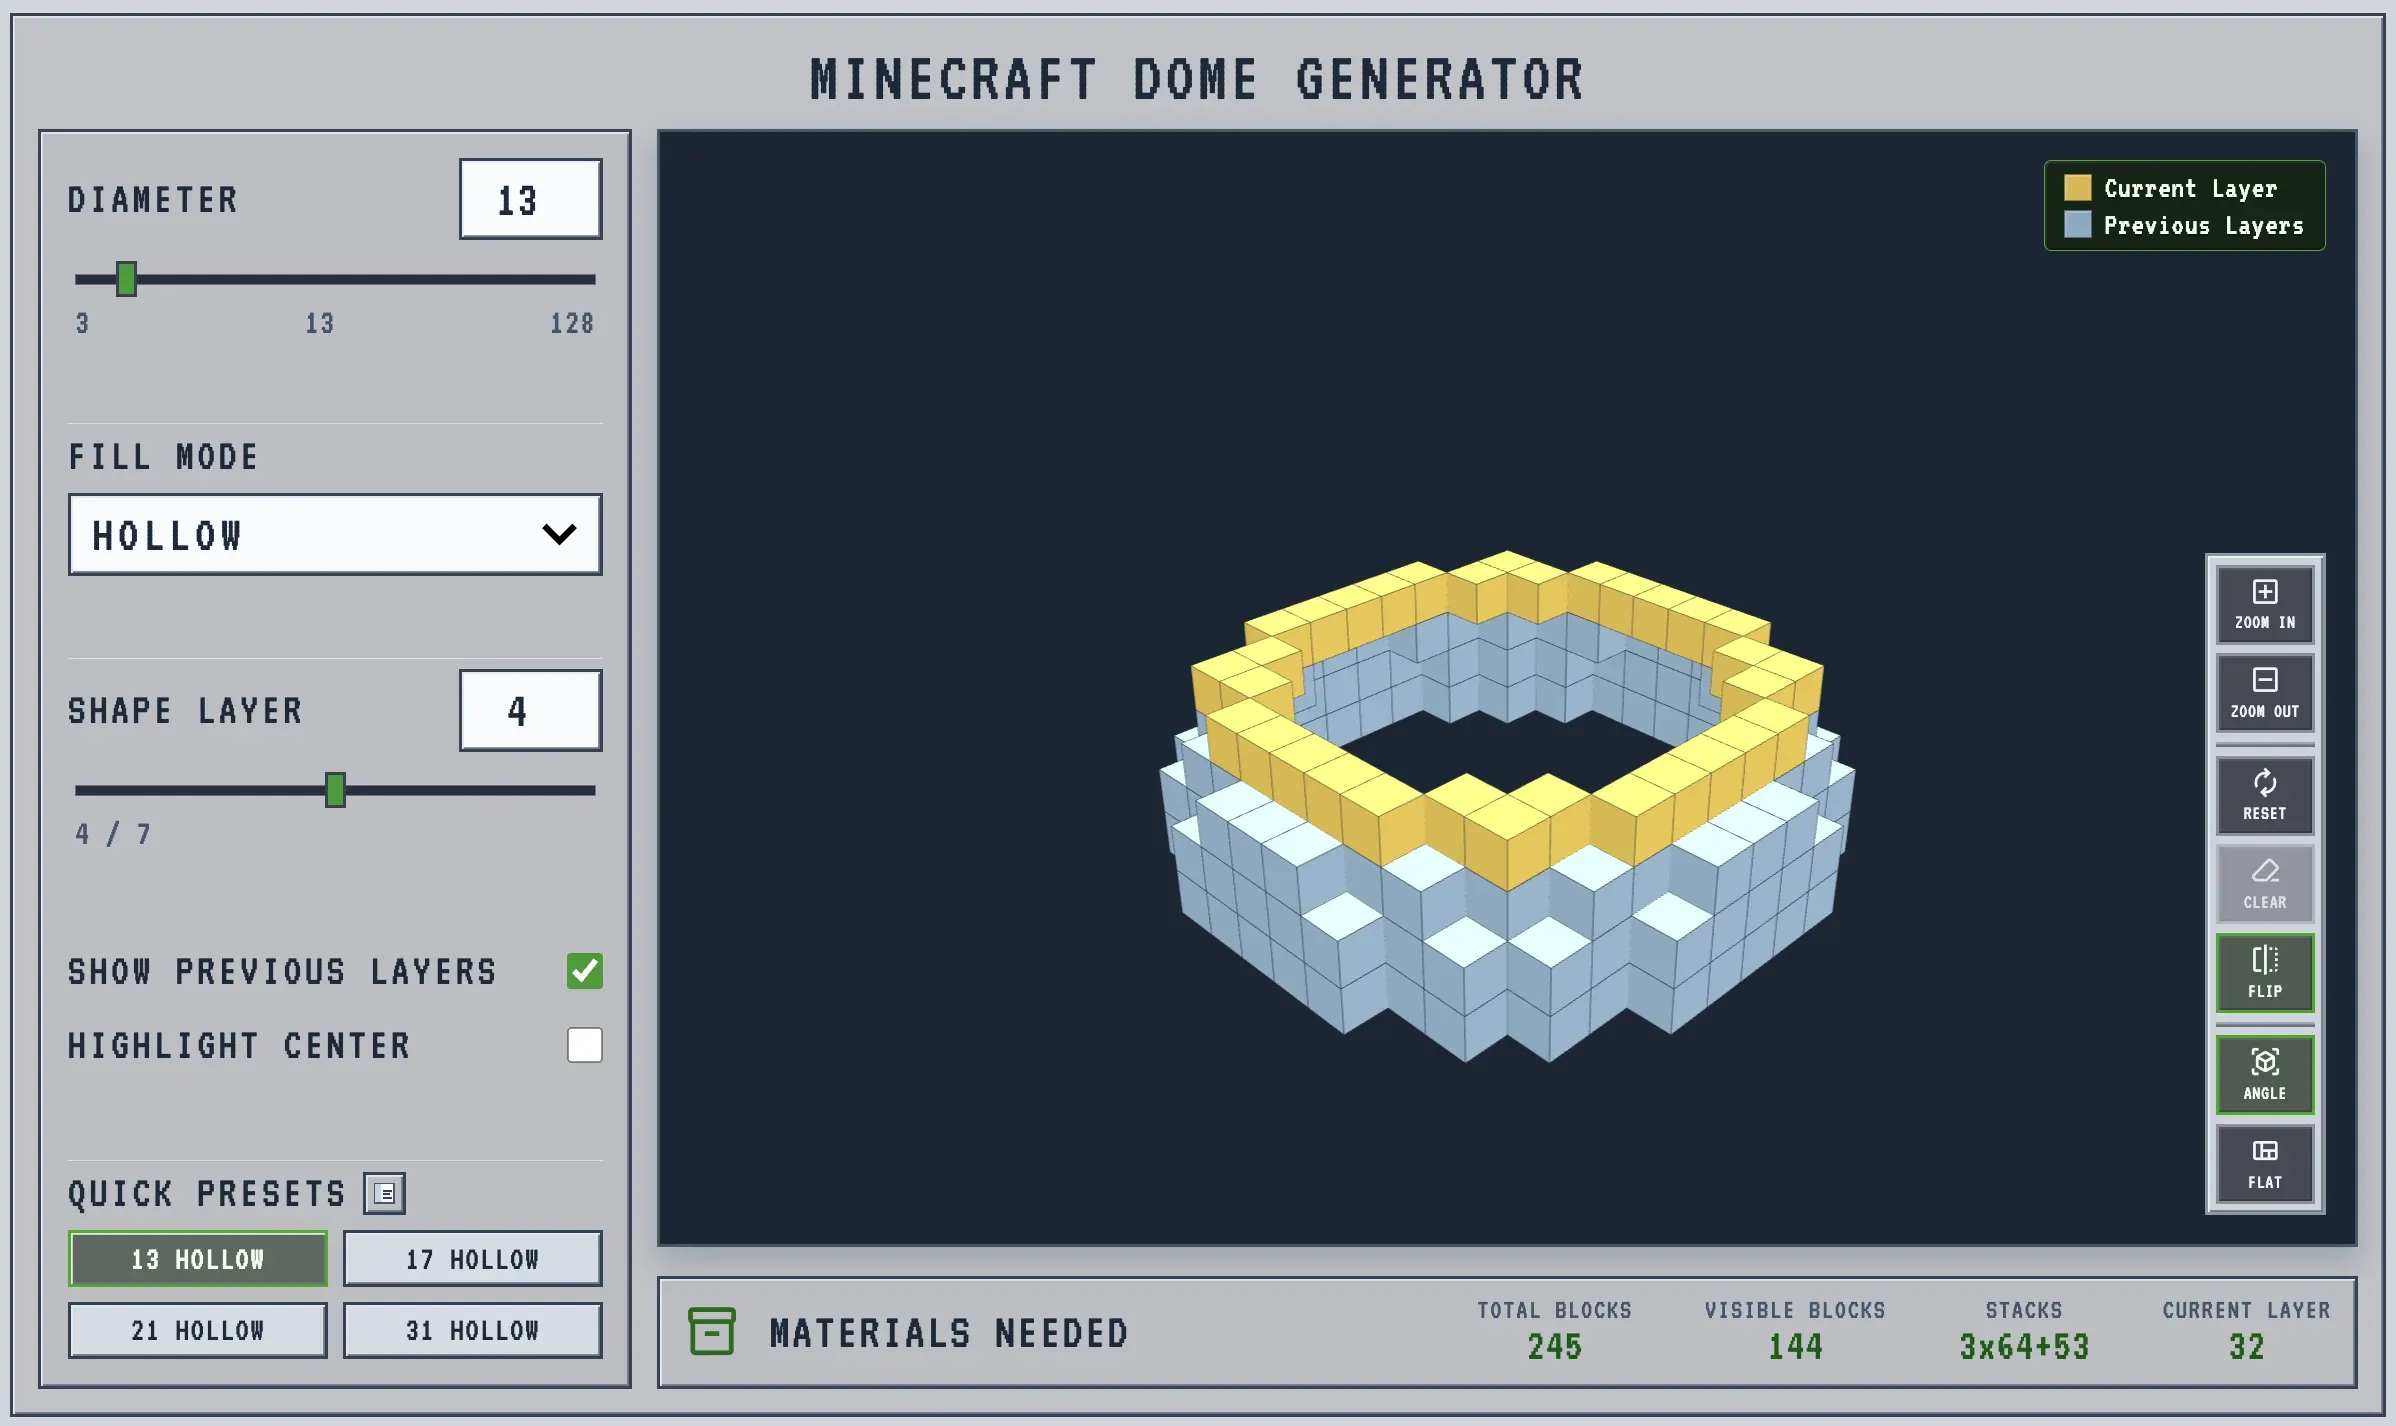
A dome cap is the top half of a sphere sitting on your wall. Where a cone is your choice of taper, a dome’s shape is fixed — pick the diameter and the curve is decided for you.
Its height is roughly half its width, and that ratio barely moves as it scales: 56% at 9 wide, 52% by the time you reach 31. So a dome over a 13-wide tower stands 7 blocks tall, which is exactly what the standard cone taper gives you too. Same height, same tower, and here is where they part company:
| Tower width | Dome height | Dome blocks | Cone blocks (standard) |
|---|---|---|---|
| 9 | 5 | 121 | 69 |
| 11 | 6 | 189 | 97 |
| 13 | 7 | 245 | 137 |
| 15 | 8 | 321 | 177 |
| 17 | 9 | 405 | 225 |
| 21 | 11 | 653 | 349 |
| 25 | 13 | 941 | — |
The dome runs about 1.8× the cone at every size. It makes sense once you look at it — a cone’s rings are thin and shrink fast, a dome stays wide for the first few layers and only tightens near the top. But 1.8× is not something most people estimate correctly before they start mining, and a 21-wide dome at 653 blocks is ten stacks of whatever you decided to roof it in.
You do not have to work off a table at all. Set the diameter in the dome generator and it lays out every layer with the count for each, which is where these numbers come from. If you want them for sizes past 25, or the solid-fill totals as well, the dome block count guide has the full sheet.
The onion dome: bulge past the wall, then pull in
An onion dome is the Eastern Orthodox silhouette — it swells out wider than the tower it sits on, then draws back into a spire. Almost nobody covers it, which is a shame, because it is the one round roof that makes a build look like somebody designed it rather than generated it.
The trick is that the dome is not sized to your tower. It is sized to your tower plus 2, or plus 4 if you want the bulge obvious. An 11-wide tower takes a 13-wide dome: 245 blocks, 7 layers, overhanging one block on every side. You build the first couple of layers stepping outward from the wall, let the dome curve do the rest, then cut it off before the top and finish by hand.
That last part is genuinely hand work. Where the dome stops and the spire starts is a judgement call about proportion, and I still do not have a rule for it — somewhere around three-quarters of the way up looks right to me on small ones, higher on big ones, and I have torn down more than one that ended up looking like a lightbulb. The dome tool gets you the bulge accurately. The neck and the spike above it are yours.
Anything you can do to keep the overhang from reading as a mistake helps: a band of a different block at the widest ring, or a one-block lip, sells it as deliberate.
Flat tops earn their place
Not every round tower wants a point on it. A flat cap with crenellations — a one-block walkway around the rim, gaps every other block — is what says fortification rather than fairy tale, and it is the correct answer for watchtowers, wall towers, and anything a player is meant to stand on.
It is also the only cap on this page that needs no planning at all. Your top ring is already the shape; you are just leaving holes in it. If the tower is 13 wide, that rim is the 40-block ring from the taper table, minus whatever the gaps take out.
The one thing worth getting right is where the gaps land. On an odd diameter the ring has a clean block at each cardinal point, so starting your alternation there keeps it symmetric all the way around. On an even diameter you have a two-block flat at the top of each curve and the pattern drifts. It is not fatal, and most people never notice, but it is the difference between a rim that looks machined and one that looks approximate.
Putting a round roof on a square building
This comes up constantly and it is a different problem from roofing a tower, because the shape underneath does not match the shape on top.
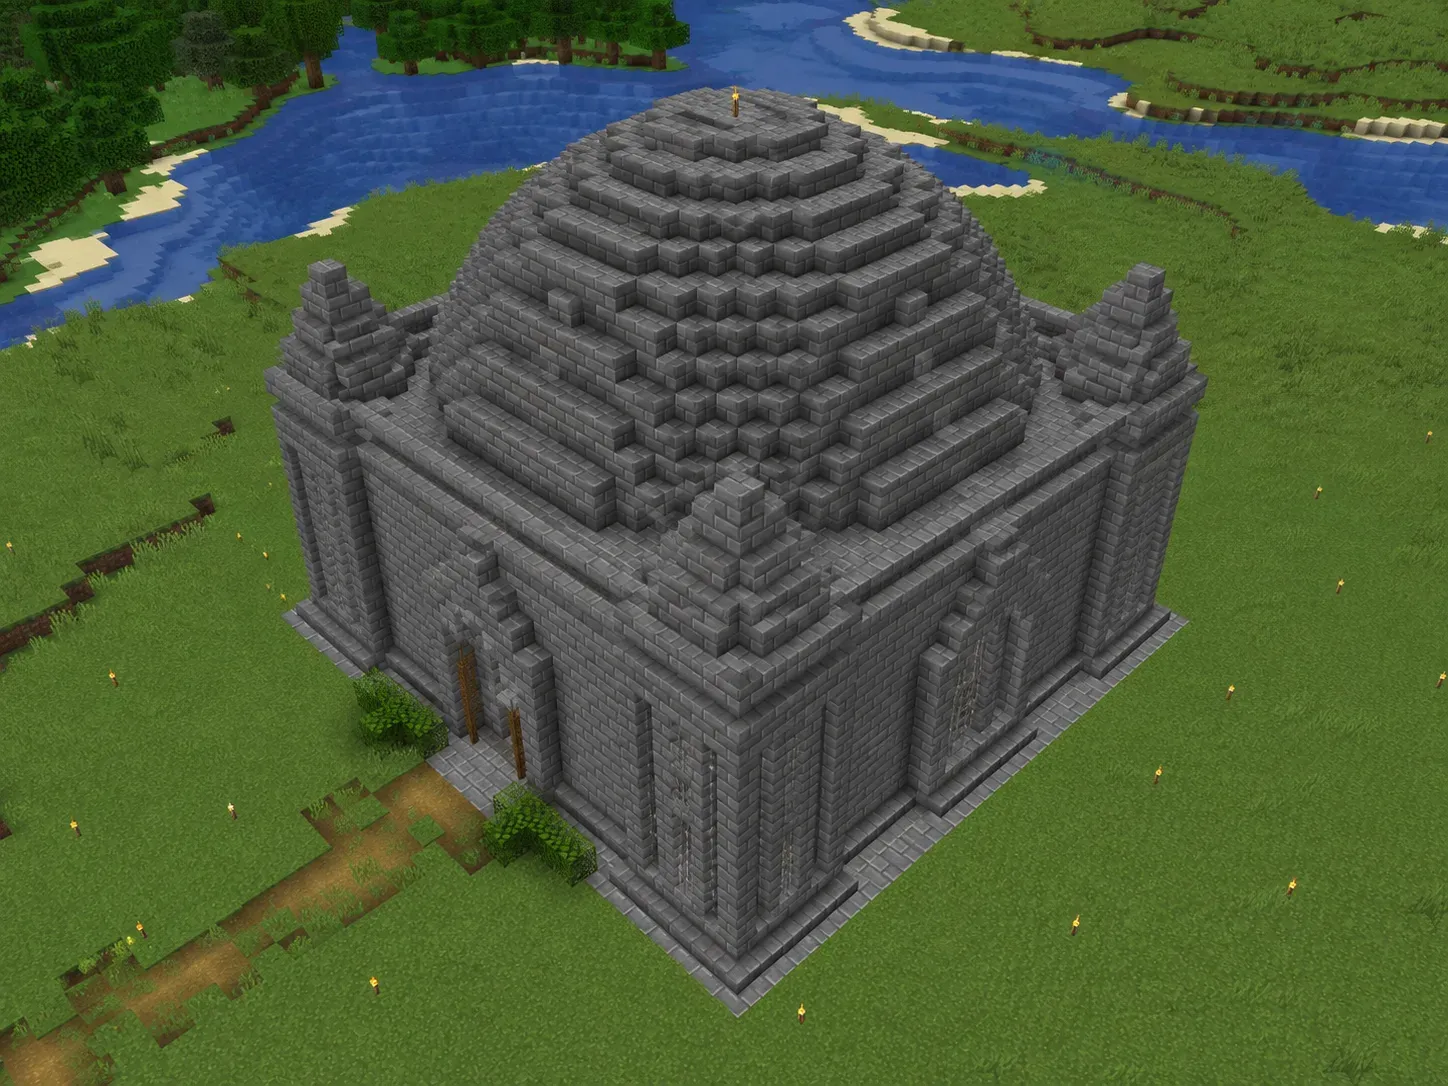
Two ways to handle it. Inscribe the circle — a 13-wide circle on a 13×13 building sits inside the walls, and the four corners are left open for you to fill with stairs or slabs stepping inward. Or oversize it: put a 15-wide dome on a 13×13 building so the roof overhangs on all four sides and the corners disappear underneath it. The second is more forgiving and costs more blocks.
There is a third dodge, and it is the one the temples use: stop trying to resolve the corner and put something on it. A small spire or a raised block at each corner turns the leftover square into deliberate ornament, and it takes less thought than a clean stair fill.
Either way the corners are hand work. The generator gives you a ring; it has no idea your walls have corners in them. What it does do is tell you exactly where the curve sits relative to the wall line, so you know before you start whether you are filling a 2-block triangle at each corner or a 4-block one.
Glass makes this considerably harder to fudge, since every join is visible from inside — the glass dome build goes through framing a shell where you cannot hide the seams.
What the tools do and don’t do here
There is no roof generator on this site, and I have not been convinced one would earn its keep. The two roofs that actually need precision are already covered by shapes that exist: a cone is a stack of shrinking circles, so the circle generator hands you each ring exactly; a dome cap is a hemisphere scaled to your tower, which is what the dome generator is. Battlement gaps, onion necks, and the corner fill on a square building are hand-placed no matter what tool you have — nothing is going to guess where you want the crenellations to land.
What the tools are actually for is the reading step. Open the circle generator and walk the diameters down for a cone, or set your tower width in the dome generator and take the layers straight off the blueprint. The part where you stand on the top ring not knowing what the next layer is — that is the part that goes away.